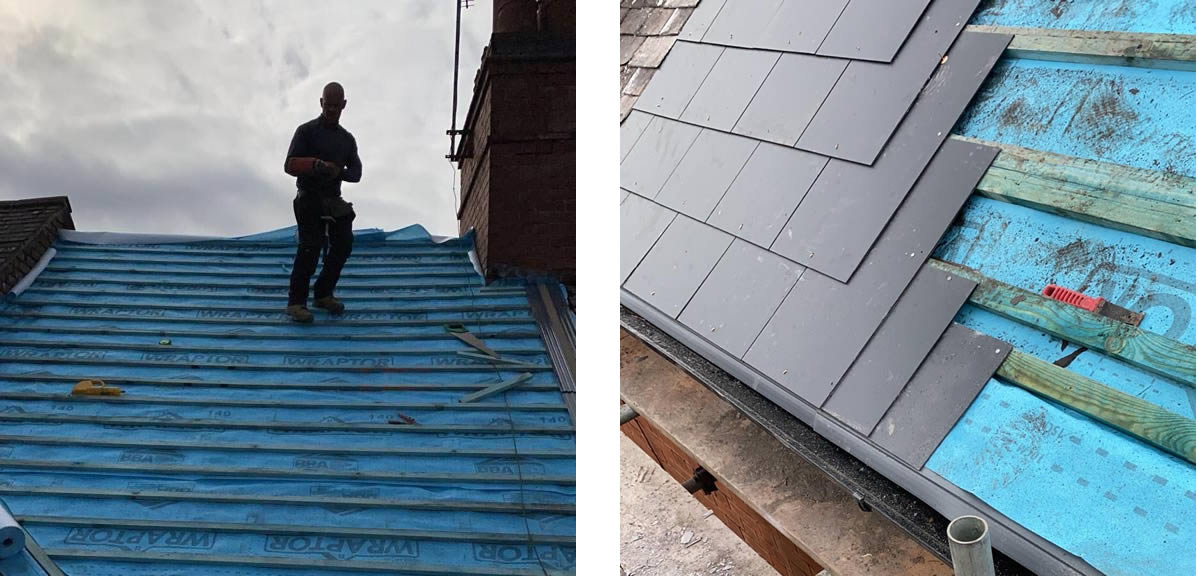
It is quite simple to install roofing membrane, but important to follow installation steps correctly. When laying breathable roofing membrane, it’s important to lay UV resistant membrane between the eaves and across the gutter. Our breathable roofing membrane is UV resistant, potentially removing the need for an eaves support tray.
Laying The Breather Membrane
Breathable membrane should be installed with the printed side facing upwards. This is clear on our WRAPTOR products, making this stage very simple. Always ensure that the membrane overlaps the UV resistant layer ending at the guttering. It’s important to ensure it doesn’t go too far over, otherwise, it will still be showing once the roofing tiles have been placed. If you do have some still showing, it is easy enough to trim the membrane to the right length, but ultimately unnecessary if installed correctly.

Provide Enough Slack
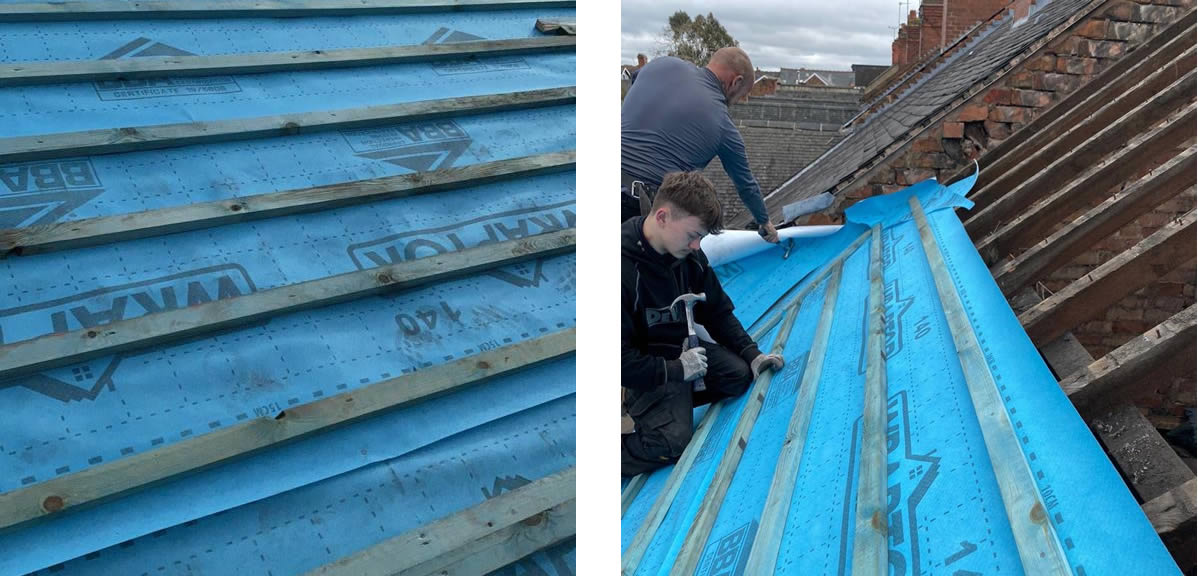
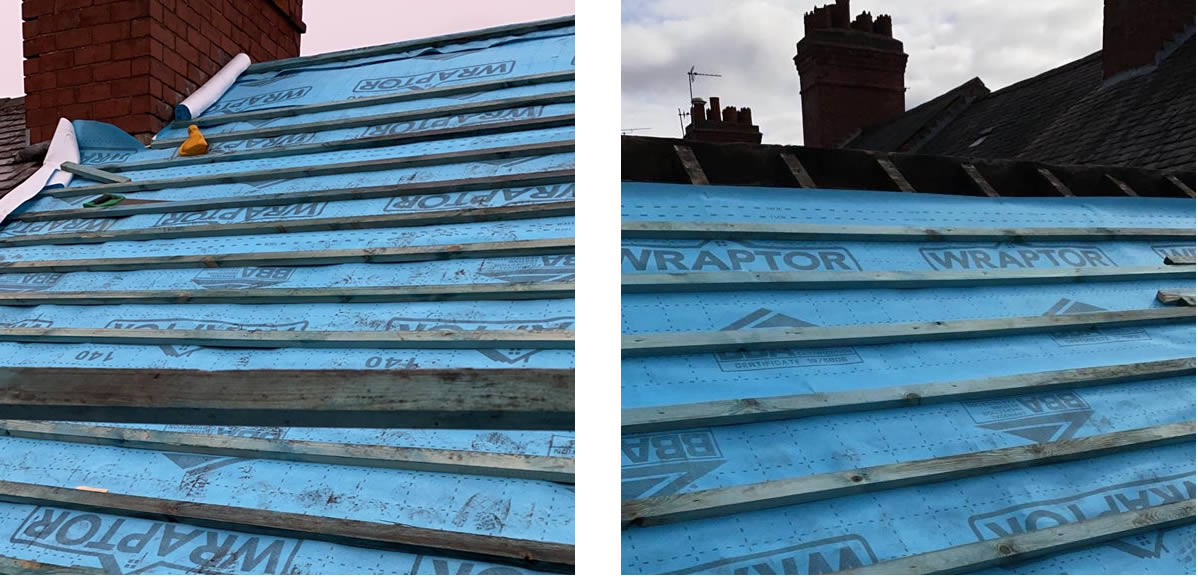
When you lay the membrane across the roof, make sure there is some slack in it. The drape should be around 1cm – 2cm. Keep the breather membrane in place by using nails along the battens. If there is no batten where the overlap lies, add a new batten where the lengths overlap to ensure the tiles do not touch the felt.

Work Up The Roof
After laying the initial UV resistant layer and the first length of membrane, work upwards from the bottom of the roof towards the top. Ensure that each layer overlaps by 1cm – 2cm as you work your way up the roof. Where the membrane meets a chimney, cut around it to create flaps and ensure the overlap goes up flush against it.

If you are looking to purchase breathable roofing membrane for your project, visit our calculator to get an estimate and then buy your roofing membrane online >>
If you need more information or a quotation, please get in touch with us or give us a call on 0116 288 7719 and one of our team will assist you.


